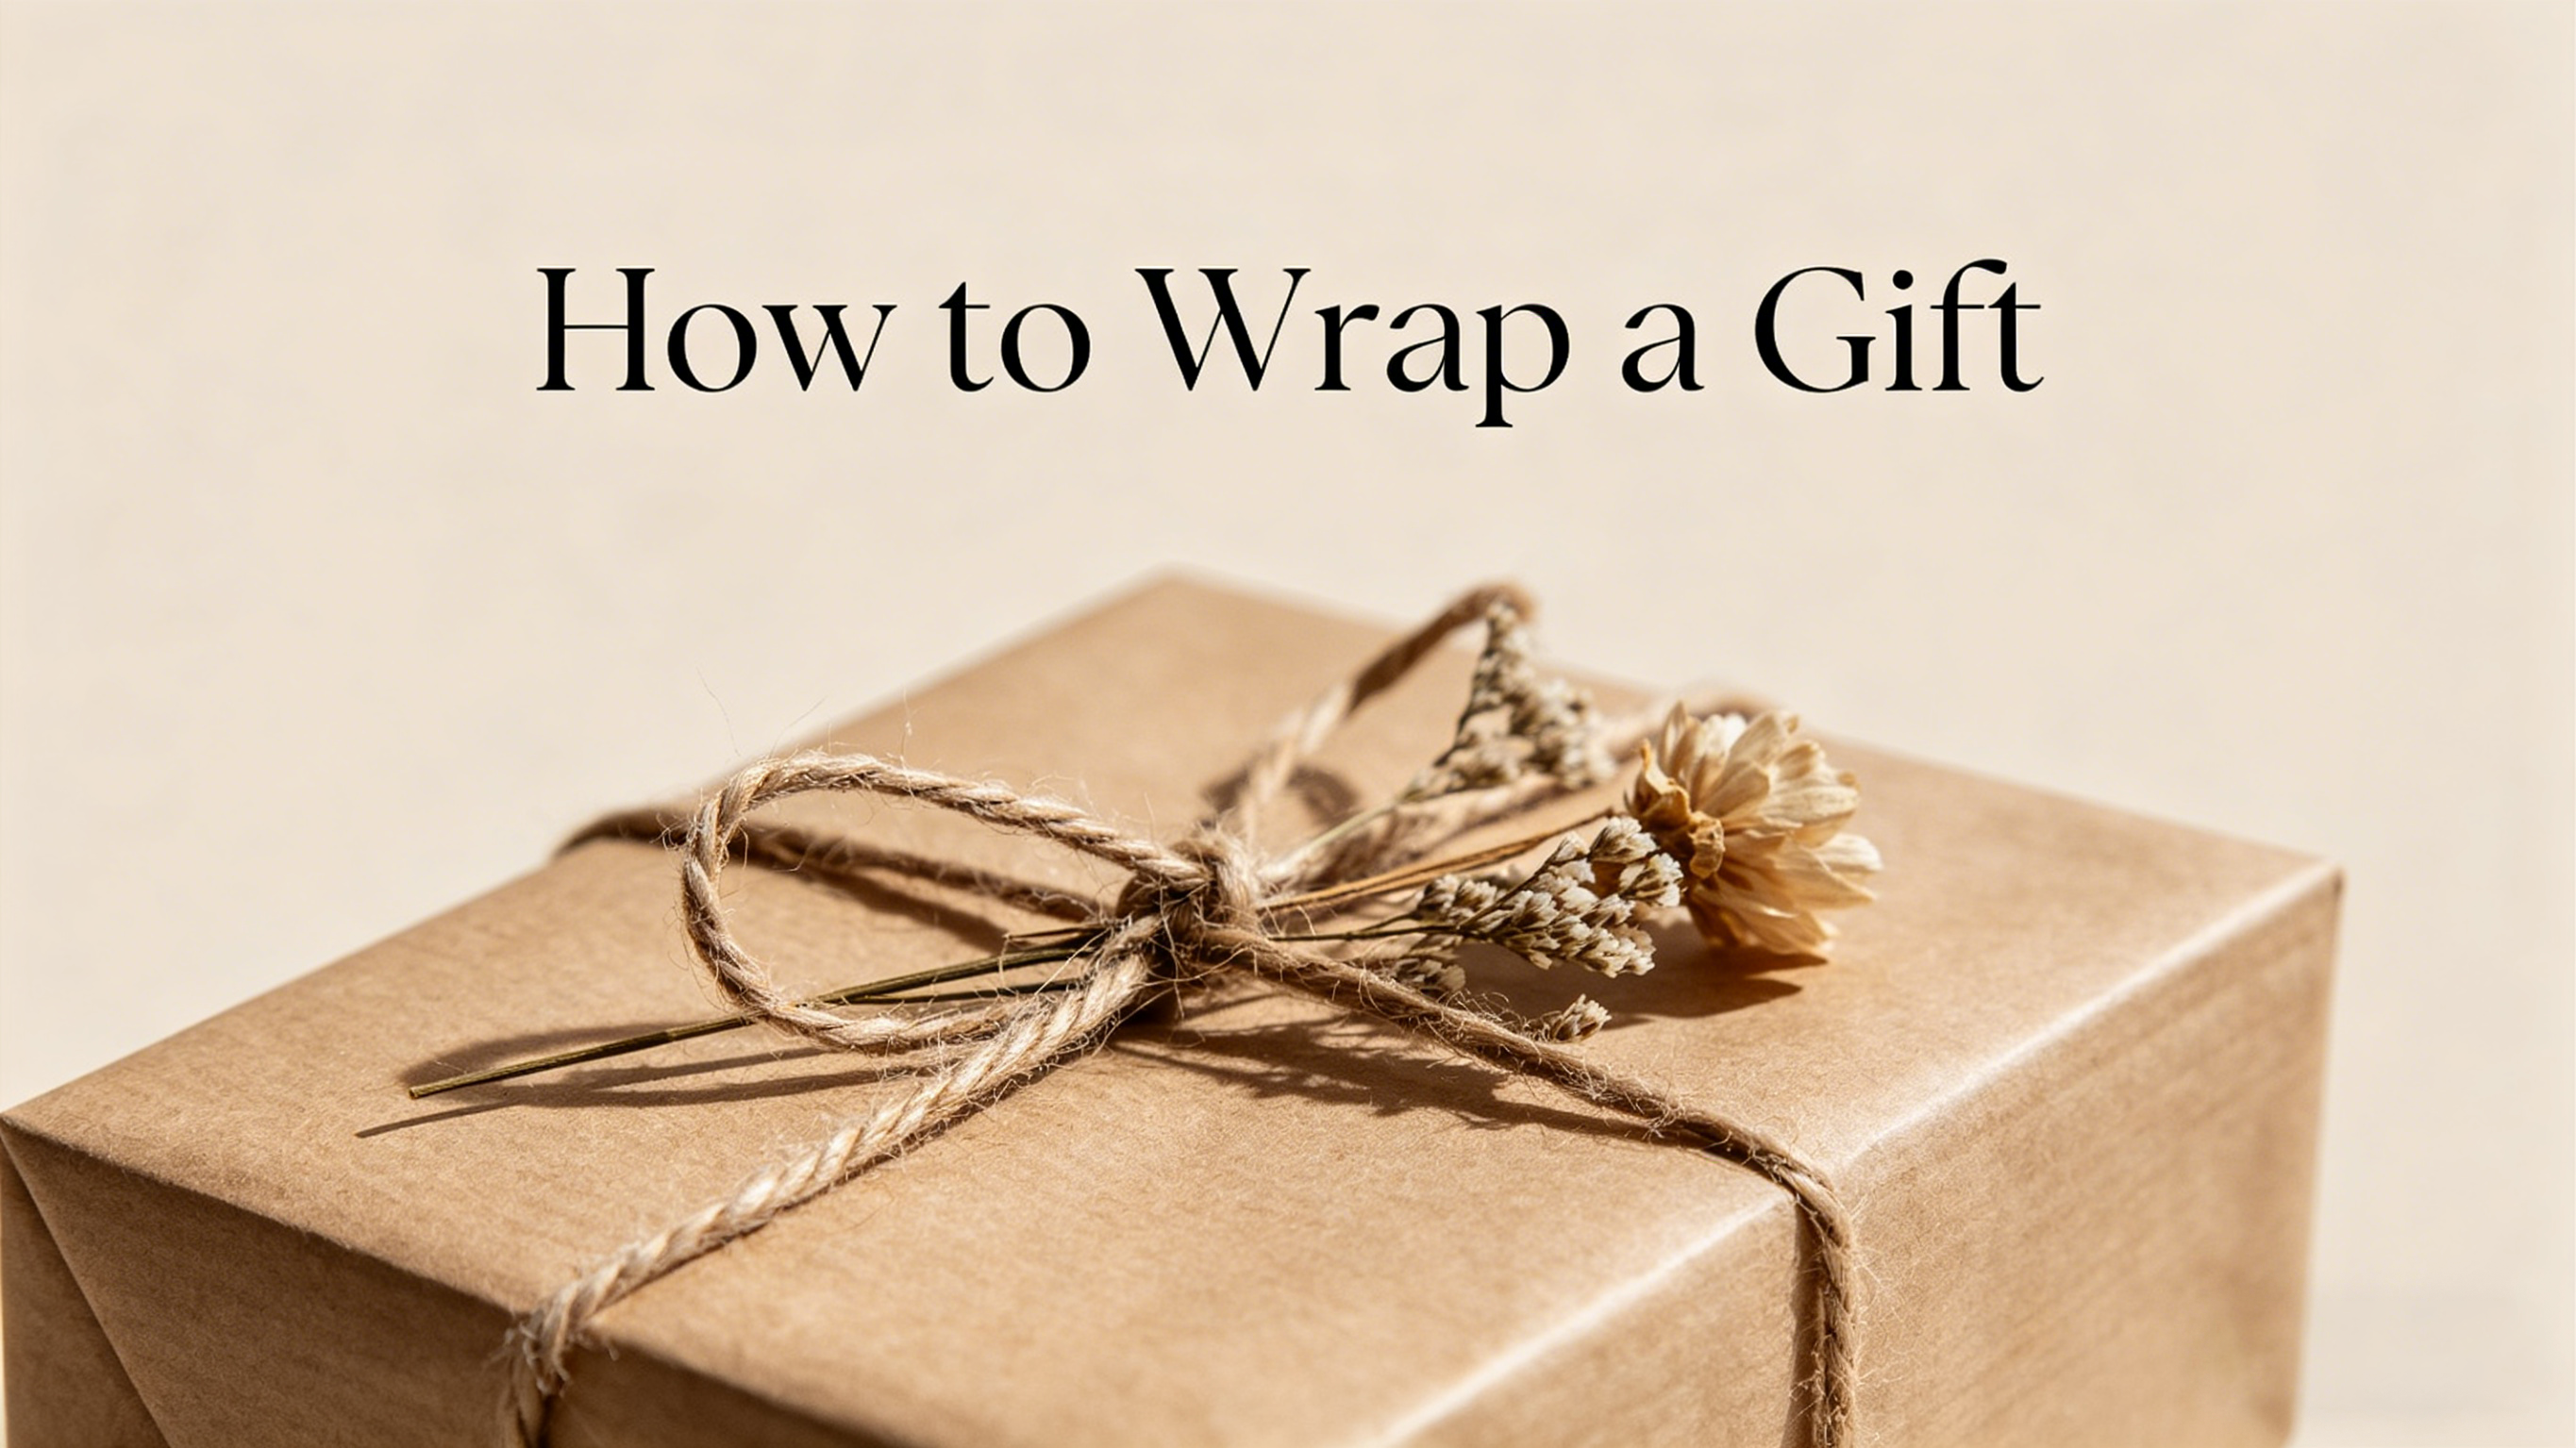
Wrapping a gift is more than just covering it up—it’s the first impression, a way to show thoughtfulness, and a chance to make your present feel extra special. When it comes to custom wooden products—whether it’s a personalized wooden sign, a handcrafted keepsake box, or a custom engraved toy—wrapping matters even more. These timeless, handcrafted pieces deserve wrapping that complements their warmth and uniqueness, rather than overshadowing them. This blog will walk you through step-by-step how to wrap a gift, with special tips tailored to custom wooden products, so you can make your personalized wooden gift look as beautiful on the outside as it is on the inside.
Whether you’re a wrapping novice or looking to refine your skills, these simple steps and pro tips will help you wrap any custom wooden gift with ease—no fancy tools required. We’ll cover everything from choosing the right materials to adding finishing touches that highlight the beauty of your wooden keepsake.
Step 1: Gather Your Wrapping Supplies (Tailored for Wooden Products)
The key to wrapping a custom wooden gift well is choosing supplies that complement the natural beauty of wood—avoid overly busy patterns or heavy materials that might scratch or damage the wooden surface. Here’s what you’ll need:
-
Wrapping Paper: Opt for simple, neutral tones (cream, beige, light brown, or soft gray) to let the wood’s grain and craftsmanship shine. Matte or kraft paper works perfectly—its texture pairs beautifully with wooden products and adds a rustic, heartfelt touch. Avoid glossy or metallic paper, which can clash with the warmth of wood.
-
Scissors: Sharp, clean scissors for precise cuts (dull scissors can crease or tear the paper, ruining the look).
-
Tape: Double-sided tape is ideal for a clean, seamless finish—no unsightly tape lines. If you only have single-sided tape, use it sparingly and place it on the underside of the wrap to keep the exterior neat.
-
Ribbon or Twine: Natural materials like jute twine, cotton ribbon, or linen ribbon complement wooden gifts perfectly. Avoid sparkly or neon ribbons, which can distract from the gift’s natural charm.
-
Finishing Touches: A small sprig of dried greenery (eucalyptus, pine), a handwritten gift tag (even better if it’s a tiny custom wooden tag!), or a small bow made from twine. These simple touches add warmth without overwhelming the gift.
-
Protective Layer (Optional but Recommended): For delicate custom wooden items (like engraved wooden jewelry or small toys), wrap the gift in tissue paper first to prevent scratches. Choose plain white or beige tissue paper—avoid dyed tissue that might bleed onto the wood.
Step 2: Prepare the Custom Wooden Gift for Wrapping
Before you start wrapping, take a few extra steps to protect your custom wooden gift and ensure a smooth wrapping process:
-
Clean the Surface: Gently wipe the wooden gift with a soft, dry cloth to remove any dust or fingerprints—this ensures the wrapping paper doesn’t stick to the wood and keeps the gift looking its best.
-
Add a Protective Layer (If Needed): For small or delicate wooden items (e.g., custom wooden keychains, engraved wooden coasters), wrap them in tissue paper first. For larger items (e.g., wooden signs, keepsake boxes), skip the tissue unless the wood has a very smooth, polished finish that might scratch.
-
Measure the Gift: Place the wooden gift on the wrapping paper and measure how much paper you’ll need—you want enough to cover the entire gift with a small overlap (about 2–3 inches) on each side. Avoid cutting too much paper, as this will create bulky folds.
Step 3: Wrap the Custom Wooden Gift (Step-by-Step)
Now it’s time to wrap! Follow these simple steps to get a neat, professional-looking finish—perfect for showcasing your custom wooden gift:
1. Lay the Wrapping Paper Flat
Place the kraft or neutral wrapping paper on a flat surface, with the pattern (if any) facing down. Smooth out any wrinkles or creases to ensure a clean wrap.
2. Center the Gift on the Paper
Place the custom wooden gift in the center of the paper, ensuring there’s equal space on all sides. If the gift is rectangular (like a keepsake box), align it so the longest sides are parallel to the edges of the paper.
3. Fold One Side Over the Gift
Take one side of the wrapping paper and fold it over the gift, pulling it tight but not too hard (you don’t want to scratch the wood). Secure the edge with a small piece of double-sided tape, placed on the inside of the fold to keep it hidden.
4. Fold the Opposite Side Over
Fold the other side of the paper over the first fold, overlapping it by 2–3 inches. Smooth out the paper to remove any wrinkles, then secure with double-sided tape. For a neater finish, fold the edge of the second side slightly before overlapping (this creates a clean, crisp edge).
5. Fold the Top and Bottom Ends
Now focus on the top and bottom of the gift (the ends of the rectangle):
-
Fold the top flap down toward the gift, creating a triangle shape at the corner. Smooth the fold to make a crisp edge.
-
Fold the two sides of the triangle in toward the center of the gift, creating a neat, pointed end. Secure with a small piece of tape.
-
Repeat the same process for the bottom flap, ensuring both ends look symmetrical.
6. Smooth Out Any Wrinkles
Once the gift is wrapped, run your hands gently over the surface to smooth out any wrinkles or creases. Pay extra attention to the edges and corners—crisp folds make the wrap look polished and intentional.
Step 4: Add Finishing Touches (Perfect for Custom Wooden Gifts)
The finishing touches are what make your wrapped custom wooden gift stand out. Keep it simple and rustic to complement the wood’s natural beauty:
1. Add Ribbon or Twine
Wrap jute twine or linen ribbon around the gift 2–3 times, pulling it gently (don’t tie it too tight, as this can dent the wood). Tie a simple bow or a loose knot—avoid elaborate bows that might overshadow the gift. For an extra touch, add a small sprig of dried greenery to the knot.
2. Attach a Gift Tag
A handwritten gift tag adds a personal touch. For a cohesive look, use a tiny custom wooden gift tag (engraved with the recipient’s name or a short message)—it ties in perfectly with your custom wooden gift and adds a thoughtful, matching detail. Attach the tag to the ribbon or twine with a small piece of string.
3. Add a Small, Personal Detail
If you want to go the extra mile, add a small, wooden accent—like a tiny custom wooden charm (shaped like a heart, star, or elephant) or a small sprig of dried lavender. These details are subtle but meaningful, and they highlight the handcrafted nature of your gift.
Pro Tips for Wrapping Custom Wooden Products
Wrapping wooden gifts has a few unique considerations—here are some pro tips to ensure your gift looks perfect and stays protected:
-
Avoid Heavy Adhesives: Don’t use glue or heavy tape directly on the wooden surface—this can damage the finish or leave residue. Stick to double-sided tape on the wrapping paper, not the gift itself.
-
Embrace Imperfection: Rustic, slightly imperfect wrapping pairs beautifully with custom wooden products. You don’t need a perfectly symmetrical bow or crease—small flaws add charm and make the wrap feel hand-done.
-
Match the Wrapping to the Gift: If your custom wooden gift has a dark finish (e.g., walnut), use lighter wrapping paper (cream or beige) to create contrast. If it has a light finish (e.g., oak), stick to kraft or light brown paper for a cohesive look.
-
For Odd-Shaped Wooden Gifts: If you’re wrapping an irregularly shaped custom wooden item (e.g., a wooden toy or a curved sign), use tissue paper to fill in any gaps before wrapping with the main paper. This helps the gift hold its shape and makes wrapping easier.
Final Thoughts: Wrapping as a Reflection of Your Thoughtfulness
Learning how to wrap a gift well is a simple way to show someone you care—and when that gift is a custom wooden keepsake, the wrapping becomes part of the experience. By choosing neutral, natural materials and keeping the design simple, you let the beauty of the handcrafted wood shine through, while adding thoughtful touches that make the gift feel extra special.
Whether you’re wrapping a custom wooden sign for a housewarming, a personalized keepsake box for a birthday, or a custom engraved toy for a child, these steps will help you create a wrapped gift that’s as beautiful and meaningful as the wooden piece inside. Remember: the best gift wrapping is heartfelt, not perfect—and it’s the perfect way to celebrate the timeless charm of custom wooden products.